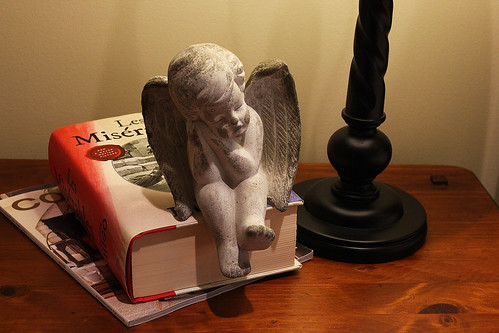
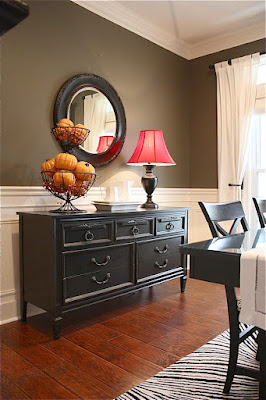
Since my last post was about the guest bedroom, I thought I'd post a couple of other photos. I did halt that project in early June, just in time for my mom's visit, although I still have quite a bit to do as with most things around here.
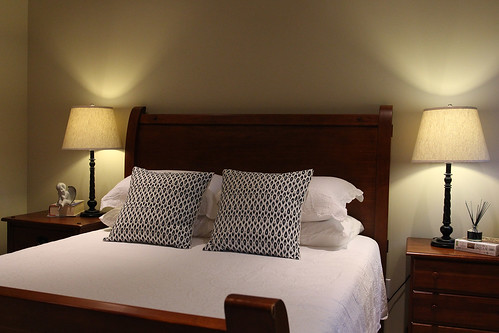
Still need art above the bed. And could someone straighten that lamp please?
Showing posts with label decorating. Show all posts
Friday, September 18, 2015
Sunday, June 7, 2015
Slow Progress
I've been working on the guest bedroom and bathroom the last couple of weeks and feel like I'm getting there.
My biggest problem seems to be "completing" a room. I get to where it's OK and I kind of like it but it just never really feels "done".
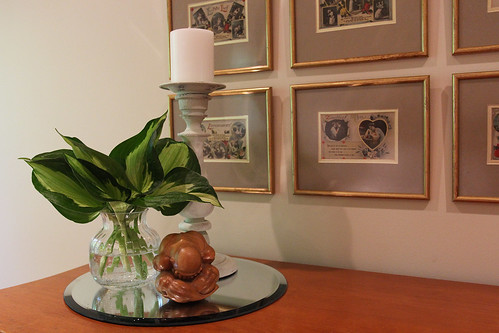
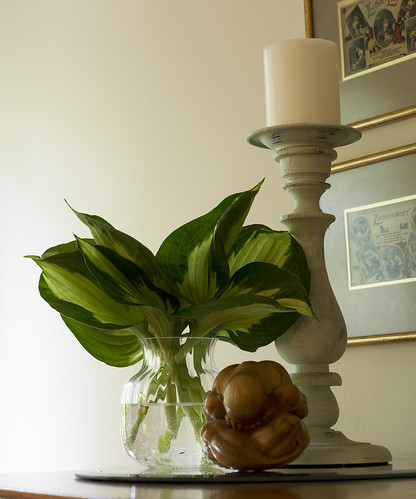
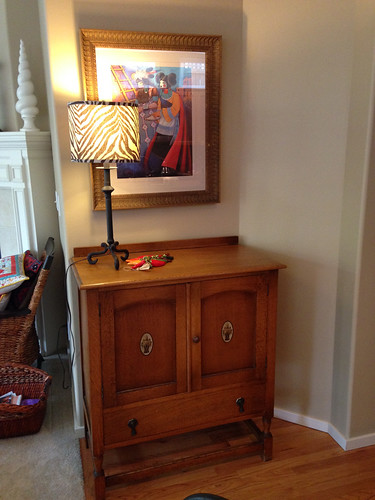
I did come up with this little vignette which I'm semi happy with.
My biggest problem seems to be "completing" a room. I get to where it's OK and I kind of like it but it just never really feels "done".
I did come up with this little vignette which I'm semi happy with.
Labels:
decorating
Tuesday, May 19, 2015
Let the Decorating Begin!
I've been doing quite a bit of painting around the house with a LOT more to do.
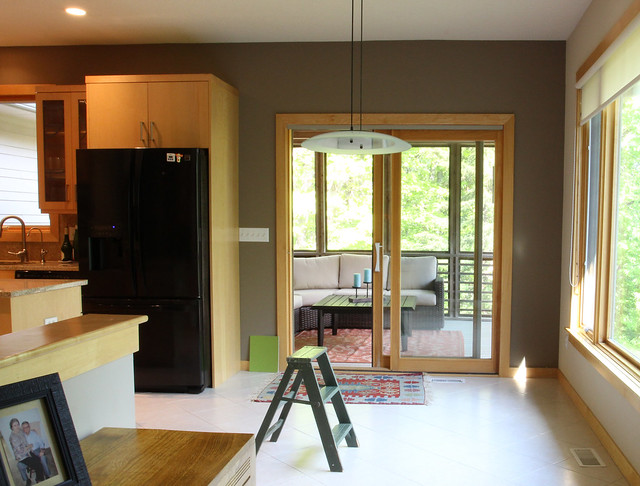
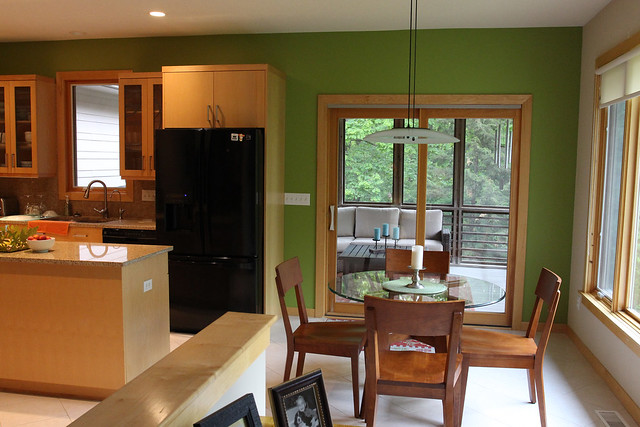
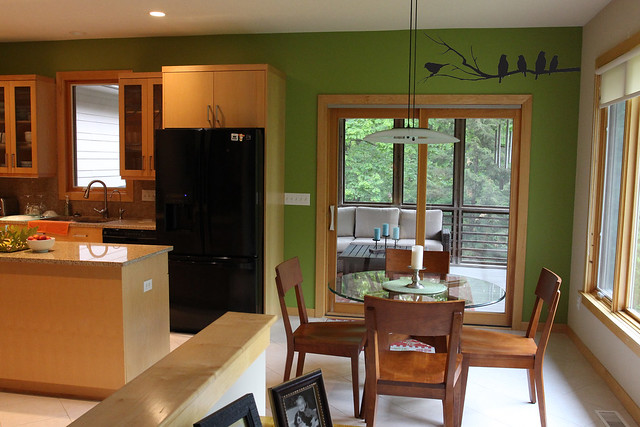
The kitchen walls went from brown-ish to green, which I love, but the big green space above the sliding door is bothering me just a little bit.
Before paint (and furniture):

After paint:

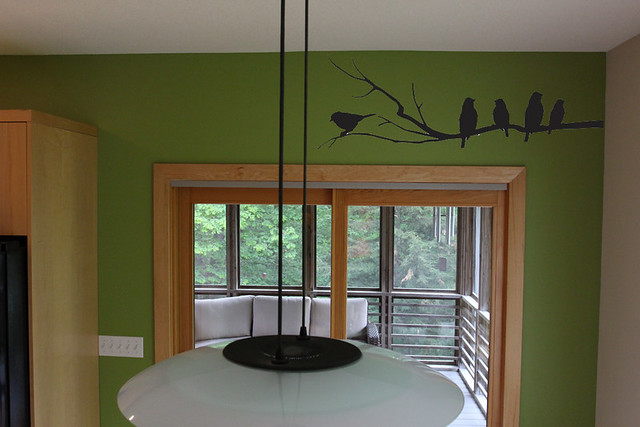
I'm trying to come up with something to break it up a little and this is my current idea:


It's a vinyl decal and I think it just may do the trick.
What do you think?
(Please ignore the big black blob in the kitchen. We'll be replacing it as soon as the sticker shock from all the other expenses we've had subsides.)
The kitchen walls went from brown-ish to green, which I love, but the big green space above the sliding door is bothering me just a little bit.
Before paint (and furniture):

After paint:

I'm trying to come up with something to break it up a little and this is my current idea:


It's a vinyl decal and I think it just may do the trick.
What do you think?
(Please ignore the big black blob in the kitchen. We'll be replacing it as soon as the sticker shock from all the other expenses we've had subsides.)
Labels:
decorating,
kitchen makeover
Tuesday, May 20, 2014
It's Here!
The media console, that is. It's the Ming Media Cabinet from Ethan Allen in the "aged teal" color.
We've also ordered the tile for the kitchen backsplash. It has a little bit of a metallic sheen.
When sealed and installed, it will look like this (I hope).
Labels:
decorating,
home improvement,
kitchen makeover
Monday, May 5, 2014
A Teenie Bit of Decorating
We've been hanging pictures and I'm starting to get my decorating feet wet again.
I have an update planned for these chairs...
...using something like this:
Labels:
decorating,
living room
Monday, April 28, 2014
Living Room Update
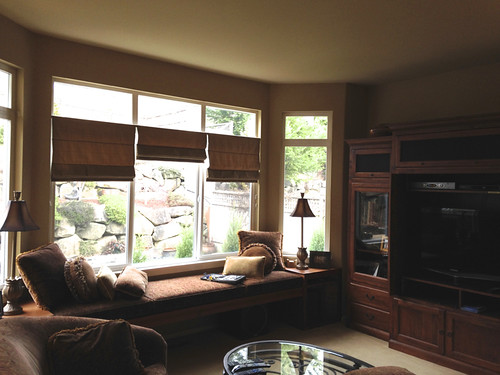
This weekend I "moved in", which really means we moved the big stuff. Quite a few things still have to make their way over from my old place but it should all be done by the end of the week. Finding room for everything is still a huge challenge.
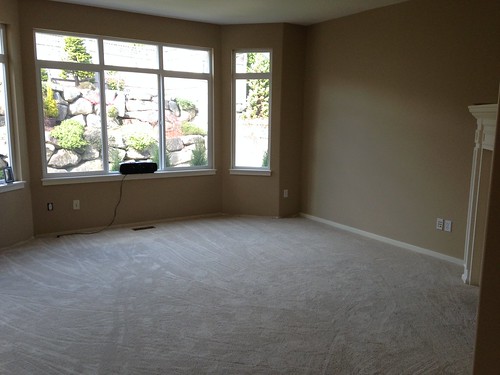
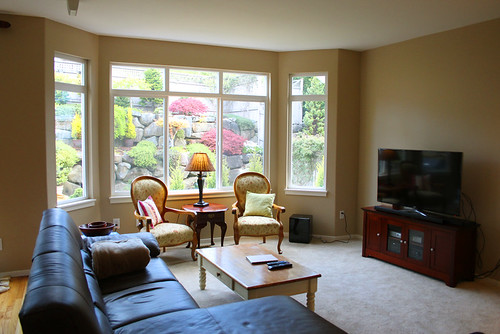
I thought I'd share a little update on the living room today. We're nowhere near done, but at least there's furniture!
Before:

During:


Right now:

We're waiting for the new media console to arrive, blinds have to installed, the coffee table has to be replaced/refinished, pictures will be hung, the chairs have to be reupholstered, etc., etc., but we have somewhere to sit!
I thought I'd share a little update on the living room today. We're nowhere near done, but at least there's furniture!
Before:

During:


Right now:

We're waiting for the new media console to arrive, blinds have to installed, the coffee table has to be replaced/refinished, pictures will be hung, the chairs have to be reupholstered, etc., etc., but we have somewhere to sit!
Labels:
decorating,
home improvement,
living room
Wednesday, April 2, 2014
Dining Room Ideas
The carpets are in!
The granite guys came to make the templates for the countertops yesterday. And took my new sink with them, which gives me the heebie jeebies.
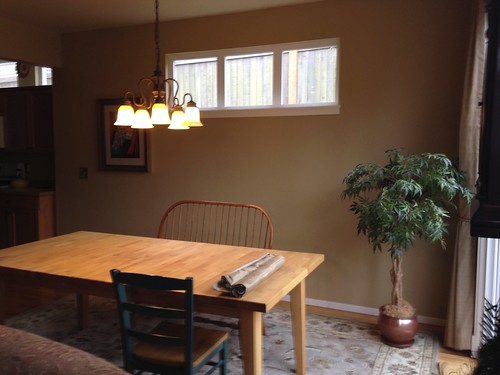
The house is a complete disaster zone but I thought I'd share some of my thoughts on the dining area today. This is the best photo I have of the dining table. It's maple with a butcher block top.
The new chairs are the Seagrass Side Chairs from Pottery Barn. You can also see the new carpet and paint color in this photo (taken in the living room because the dining room is filled with furniture from other rooms).Today I'm off on another quest to find paint for the master bedroom. As of right now I have 4 Behr paint swatches on the wall and I hate them all. Going to see what Benjamin Moore has to offer.
Labels:
decorating,
dining room,
home improvement
Tuesday, September 24, 2013
Monday, September 23, 2013
Fall Dining Table
I almost want to call these "before" photos because I'm not sure I'm completely done, but who knows. I like simplicity.
I found the glass pumpkin at Freddies a couple of weeks ago. Don't go looking for one though. They were all gone within a day or two. I know. I went back for another one - no luck.
Labels:
decorating,
dining room,
fall decorating
Sunday, September 22, 2013
Saturday, September 21, 2013
Fall Wreath
I decided to splurge this year and buy a Fall wreath.
It arrived this week and it is stunning!
I bought it from Tonya at twoinspireyou on Etsy. I will probably be back over there when Christmastime rolls around.
It arrived this week and it is stunning!
Labels:
decorating,
fall decorating
Friday, September 20, 2013
Changes
A lot has happened since my last post, the most important to this blog being the sale of my house and a move into an apartment - for now.
I haven't really been inspired to do much decorating over here, but that seems to be changing, so I figured I'd revive my little blog.
Went to Ross yesterday to just browse around... Stumbled upon this cute little lampshade - $6.99!
I haven't really been inspired to do much decorating over here, but that seems to be changing, so I figured I'd revive my little blog.
Went to Ross yesterday to just browse around... Stumbled upon this cute little lampshade - $6.99!
Labels:
decorating
Sunday, December 2, 2012
Thursday, July 19, 2012
Monday, July 9, 2012
Hotel Inspiration
Spent the weekend in Vancouver, B.C. and stayed at the Shangri-La.
I now want chandeliers everywhere!
And floor-to-ceiling marble in my bathroom.
Labels:
decorating,
travel
Monday, May 7, 2012
31 Ways to Add Character...
The guest bathroom is nearing completion. There will be a "real" post soon, I promise.
In the mean time, I discovered another new blog.
The Yellow Cape Cod: www.theyellowcapecod.com
I especially like her segment on how to add character to a builder grade home. Most of us have one of these, right?
31 different projects, each with a matching tutorial.
Some examples:
In the mean time, I discovered another new blog.
The Yellow Cape Cod: www.theyellowcapecod.com
I especially like her segment on how to add character to a builder grade home. Most of us have one of these, right?
31 different projects, each with a matching tutorial.
Some examples:
DIY Striped Drapes
How to achieve the distressed white Pottery Barn finish
5 Minute Frame Fix (I think I'm going to have to do this very, very soon)
Thrifted Furniture Makeover
And many more.
Labels:
decorating
Wednesday, April 25, 2012
Monday, November 21, 2011
Monday, October 17, 2011
Faux Candles
These are not real. They're made with real wax and even have a vanilla scent.
They flicker like real candles.
But they're remote controlled!
Love it.

Amazing!
(I bought the set of 9 candles at Costco for about $30.)
They flicker like real candles.
But they're remote controlled!
Love it.
Amazing!
(I bought the set of 9 candles at Costco for about $30.)
Labels:
decorating
Friday, December 24, 2010
Last minute Santa Hat tree topper
We have a new 4ft Christmas tree in the family room.
It was a last minute thing and I did not have a tree topper nor did any store.
So...I had to make one, of course
Here's how to do it:
1. Find one old Santa hat somewhere in the house.
1. Measure how tall you need the topper to be.
2. Cut the hat to size - chop off the bottom.
3. Trim off the white trim and resew it to the new smaller hat. (If you don't have a sewing machine you can easily do this by hand.) You may have to make it a little narrower to look good on the smaller hat.
4. If you tree has a flimsy top, reinforce it a litte. I used wooden skewers.
5. If you're having trouble getting the hat all the way down the tree top, wrap the top couple of inches in ribbon to eliminate the resistance of the pine needles.
6. If your pom-pom is a little floppy, stuff some fabric remnants (the ones you cut off) into the tip of the hat.
Cute, right?
Labels:
decorating
Subscribe to:
Posts (Atom)